
Make a travel guide from notes by naming the reader
Write a short description of the person receiving the guide. Include the situation that changes your advice: a first visit, a short stay, interest in one neighborhood, or a preference for a quieter pace.
“My city recommendations” leaves too many choices open. “A first afternoon in the riverside area for a friend who wants a relaxed walk and one food stop” gives you a manageable editorial boundary.
Decide what the reader should be able to do after reading: choose an area, follow a loose route, decide between two stops, or avoid a mistake you made. Keep that outcome visible while selecting the notes.
If the task is to organize your own dates and fixed arrangements, use the travel itinerary from notes method. An itinerary preserves the plan for a particular trip. A guide needs enough context to help someone adapt your observations to their own visit.
Select details another traveler can use
Read each note and ask what decision it helps the reader make. “Great afternoon” records a feeling. A note explaining which part you enjoyed, what the conditions were, and who might prefer another option gives the next person more to work with.
Use this editing table before writing the guide:
| Raw material | Decision it can support | What the guide needs |
|---|---|---|
| A favorite place | Whether it suits this reader | Reason for choosing it and relevant trade-offs |
| A route you followed | Which order might work | Start, finish, key stops, conditions that could change it |
| A practical observation | What to prepare or check | Context, date, and whether it was firsthand |
| A saved recommendation | Whether to investigate it | Clear attribution and verification status |
| A photo or screenshot | What the reader needs to notice | Explanation, permission to use it, and no unnecessary private details |
Keep notes that make the choices more understandable. Remove repeated praise and details that only mattered to your own booking. You can retain those in a private trip record without carrying them into a guide for everyone else.
Keep experience, sources, and unknowns distinct
Label the status of the material while drafting. That helps you avoid turning something you heard into something you experienced.
- Firsthand observation: what you personally saw or did, with the date and relevant circumstances.
- Sourced information: a detail from a venue, operator, official page, or another person's account, with a link or attribution.
- Still to check: a useful possibility that needs confirmation before a reader relies on it.
Your visit establishes what happened then. Opening times, prices, transport arrangements, and booking conditions can change. Check those details against current primary sources or leave them out of the published guide. Avoid a broad claim such as “accessible route” when your notes only establish what you observed on one section.
An AI draft can also make an incomplete note sound settled. Ask it to preserve uncertainty, then check whether that happened. The AI draft readiness checklist gives a broader review method for source fidelity and usable handoffs.
Turn the notes into a six-card travel guide
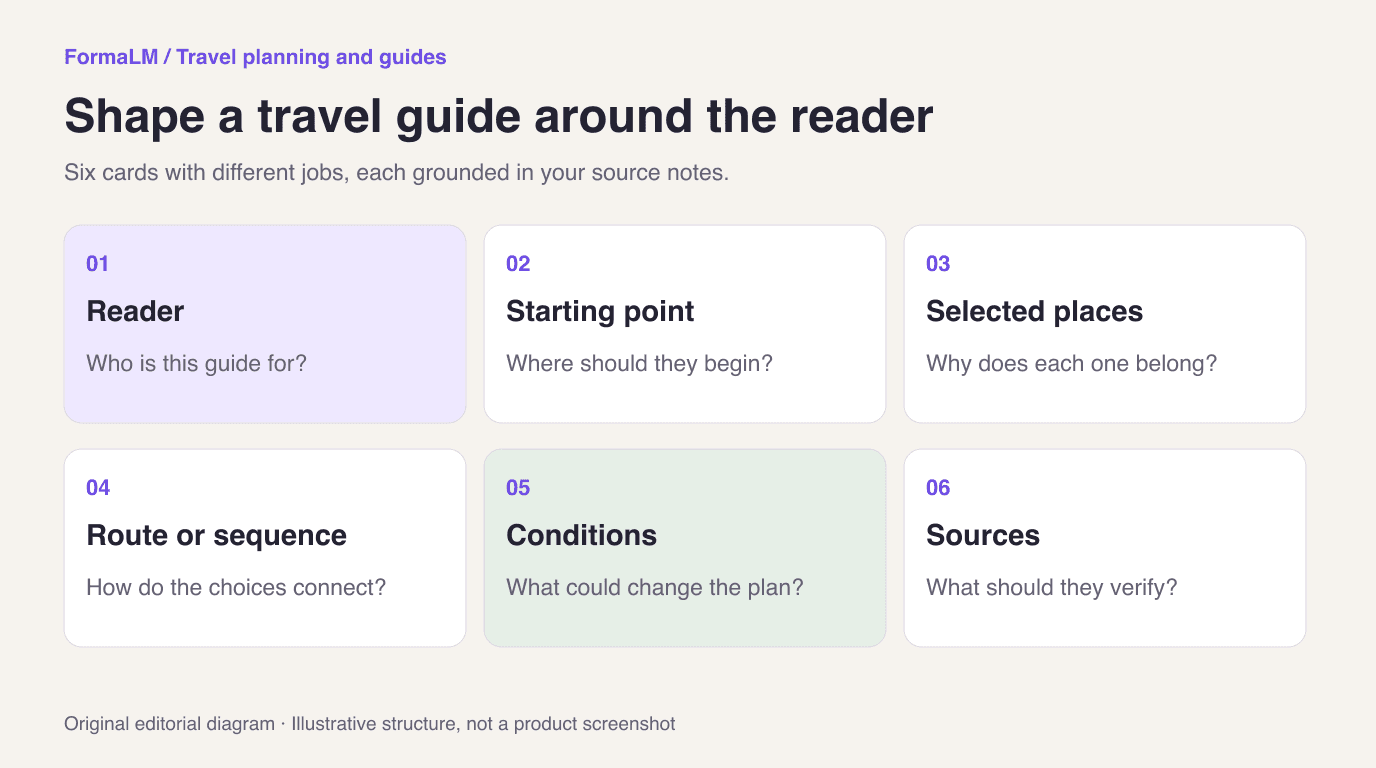
A short carousel works well when the reader should understand the route or recommendation in one pass. Give each card a specific job and keep the practical detail close to the choice it explains. For general card sequencing, see how to turn notes into a carousel post.
The example below uses invented notes about Portbridge, a fictional city. It illustrates an editorial structure. It is not a real travel recommendation, customer case, or production output from FormaLM.
The fictional source notes are:
> Liked the River Quarter more than the busy center. Started at the station. Courtyard stop was a good pause. Harbor late afternoon was the part I'd recommend. Friend mentioned the market, but I didn't go. The riverside path had an interrupted section during my imaginary visit. Make this useful for someone with one free afternoon.
| Card | Its job | Example content direction |
|---|---|---|
| 1. Who this suits | Set an honest expectation | A relaxed first afternoon around the River Quarter; a loose route to adapt |
| 2. Where to begin | Give the route an entry point | Start from the station area, then confirm the current route to the river |
| 3. What deserves time | Explain a selection | Choose the courtyard pause if you want a quieter break before the harbor |
| 4. The main recommendation | Preserve the author's point of view | The harbor was the highlight in these fictional notes; explain what made it memorable |
| 5. What could change the plan | Make the caveat useful | Check the riverside route; the notes describe an interruption rather than a reliable through-path |
| 6. What to check next | Leave the reader with a practical next step | Verify the route and current place details; the market is an unvisited suggestion |
The market stays visibly unvisited. The route interruption stays attached to the route decision. Neither detail should disappear just because the final cards look more composed.
For a real guide, replace every invented place and observation with your own verified material. Add source links where the chosen output supports them. A carousel overview can link to a fuller page when practical qualifications need more room.
Choose a carousel or web page
Choose a carousel when there is one short route, one selection of places, or a clear progression through a few ideas. Keep each card focused enough to read without an explanation from the author.
A web page gives you more room for alternatives, longer observations, and source links. It is useful when a reader may return to one section during planning. Divide the page by meaningful areas or decisions so it remains easy to scan.
Neither format needs to include everything you captured. If a detail would change the reader's choice, retain it or provide a clear route to the fuller source. If it only repeats the same conclusion, shorten it.
For a group that is still choosing what to do, share a group trip planning brief before presenting the guide as an agreed plan. Recommendations can inform a conversation without implying that everyone has accepted them.
Draft the guide in FormaLM
The Travel guide template asks for Destination and Your notes. You can supply text, documents, or images in the notes field, with links, documents, and images as supporting references. The template supports carousel and web page outputs.
Include the intended reader, the material you actually have, your point of view, and the details that are uncertain. For the fictional example, you might write:
> Create a six-card guide for a friend with one free afternoon in fictional Portbridge. Use only these invented source notes. Keep the market labeled as an unvisited suggestion. Keep the riverside route interruption visible. Do not invent current prices, opening hours, addresses, or firsthand experiences.
Review the draft before sharing. FormaLM helps shape the supplied material into an output format; the facts and personal experience still need your judgment. This workflow does not establish automatic travel-site extraction, live venue verification, photo-collage output, or automatic social publication.
Check the finished guide with a new reader
Ask someone unfamiliar with the notes what the guide helps them choose. They should be able to identify who it suits, why the selected places belong, what is based on experience, and what needs checking.
Then inspect the practical details yourself. Confirm names and current information, remove booking references and private group messages, and check any photos you plan to include. Add an observation or review date where it helps the reader interpret a recommendation.
A finished guide gives another person a useful starting point and enough context to adapt it. Keep the source notes available so that a future correction can be traced back to the detail that needs to change.